This project is a great one to do with your kids. It is not very expensive, and you can paint and decorate it however you like.
- Buy the lumber. You will need:
- 1″ by 8″ by 4′ untreated cedar or redwood boards
- 1 1/4″ galvanized finishing nails
- 1/4″ dowel rod
- Wood glue
- Eye hooks (optional)
- Paint or stain
- Collect your tools. You will need:
- Tape measure
- Framing square
- Saw
- Clamps
- Drill with a 1/4″ bit and 1 1/2″ hole saw bit
- Mark and cut two pieces from the boards 9″ long.
- Mark the center of each board lengthwise. Use your framing square to draw a 45 degree angle with the point at the center mark and top of each board, and the ends extending equally on each side.
- Cut along the marks from the framing square so your birdhouse has a 45 degree angle at the peak of the roof.
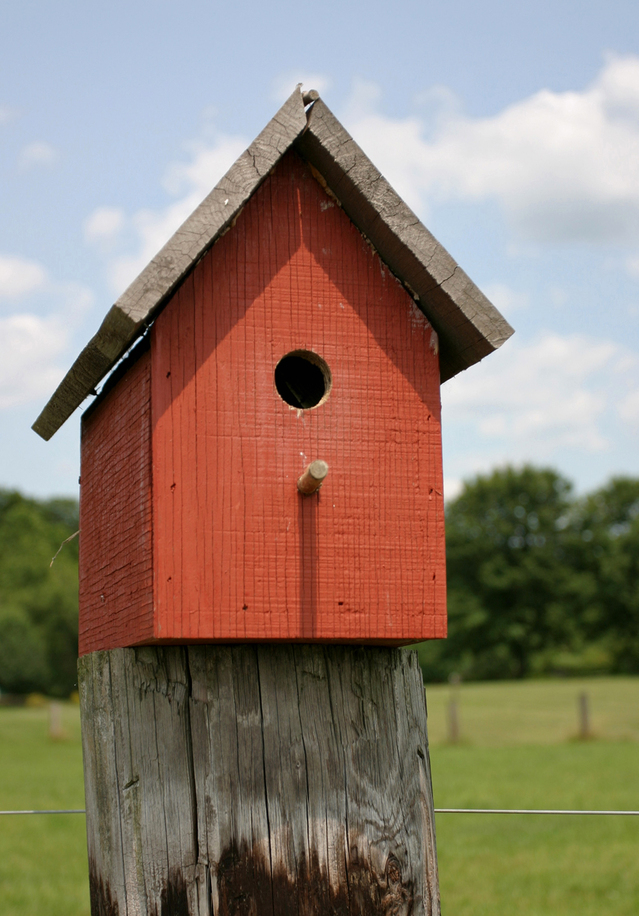
- Cut two pieces that are 5 1/2″ squares. These will be the sides.
- Cut one roof piece 6 by 7 1/4″ and the other 5 1/8 by 7 1/4 inches. The wider one will overhang the other at the peak of the roof.
- Using the hole saw bit, cut an opening on a front piece approximately in the middle.
- Attach the sides to the front and back pieces using a thin bead of wood glue. The sides will sit flush and behind the front and back. Use finishing nails to secure these pieces and allow the glue to dry.
- Measure the inside bottom opening and cut a piece to fit. Attach the bottom with glue and nails.
- Attach the roof pieces with glue and nails.
- When the glue is completely dry, use the 1/4 drill bit to drill a hold approximately an inch below the opening on the front. Apply a small amount of glue to the dowel and insert into the hole.
- Paint or stain.
- When the paint or stain is dry, attach eye hooks to the roof so you may hang it, or nail it to fence post or porch rail.